Originally posted on Squidbusters.com by my husband
When I bought my used monster (2000 miles on her) I found she suffered from weak OEM clutch springs that would let the clutch slip a good bit when you were taking off from a start, and had let the lever out. There was very little clutch lever friction zone "feel" because of this. Despite the weak springs the clutch pull force was pretty high due to the spring loading of the OEM slave cylinder and its relatively small bore. The Pantera Racing Slave Cylinder took care of the high force, now it was time to fix the slipping before it took its toll on the clutch pack.
Tools needed:
4mm allen wrench/socket. T-handle or Ratchet Socket type of good quality recommended
5mm allen wrench. T-Handle recommended
Low range torque wrench (~5 ft-lb [60 in-lb.] capable)
Parts Needed:
Barnett or other aftermarket spring kit
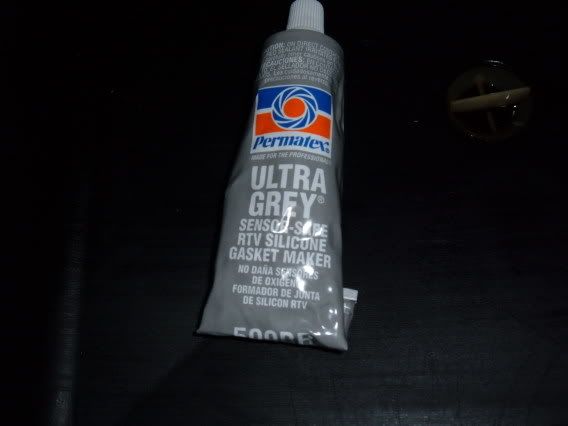
High Temp chemical resistant gasket maker (OEM or other)
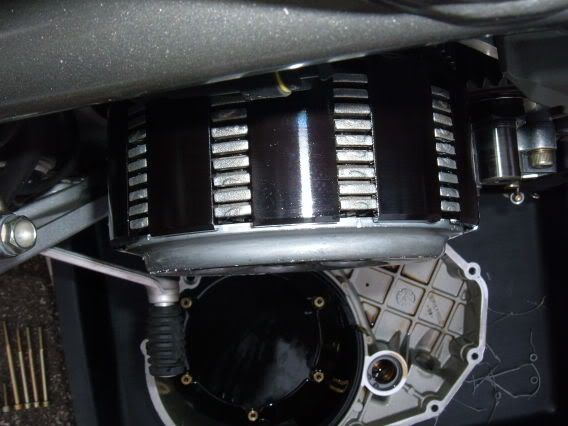
Start by cleaning around the engine side cover if the engine is dirty - you don't want anything getting inside your engine once the side cover is off the bike.
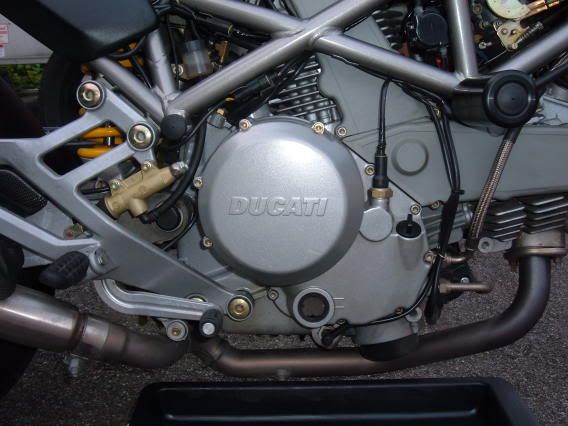
Use the 5mm allen wrench to remove the bolts from the side cover. Keep track of where they are from on the case - as they are different lengths on the top 1/3 of the cover.
The cover should remove pretty easily - just be sure to pull from both side evenly. I cheated and took out the oil fill plug and hooked a finger inside the cover.

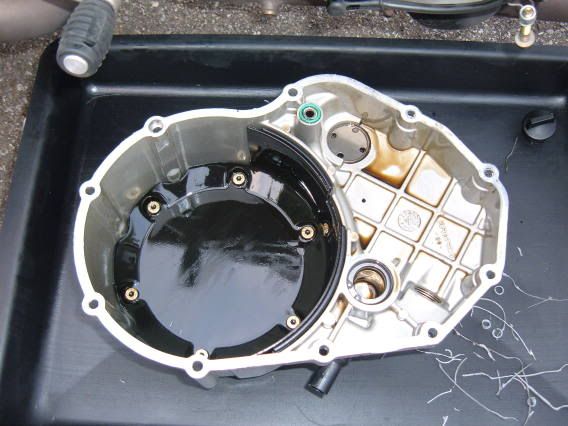
Check the inside of the cover for caked on grime (shouldn't be any on low mile bikes) Clean if needed. Inspect the clutch protector plate bolts to make sure they are not backing out.
The Duc has an enclosed oil pump that does not allow you to check gear lash.
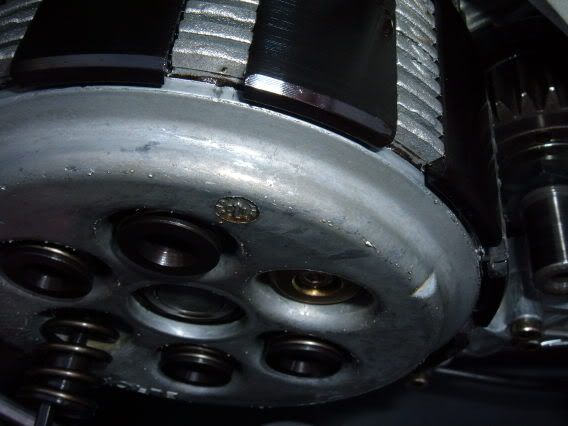
Now is a good time to inspect the basket ears and clutch plate tabs. Check for any scoring or wear. If either is worn you have bigger problems than weak clutch springs.
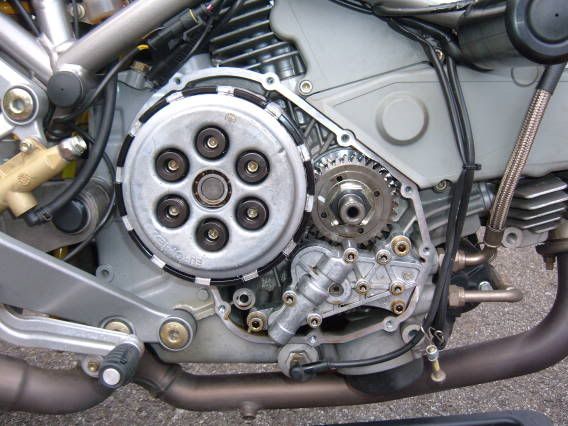 Ducati Clutch
This next shot is for comparison with the clutch lever pulled in and the clutch disengaged. This shows the clutch fully engaged.
This shot shows the clutch lever pulled in and the clutch pressure plate backed away from the clutch pack.
Here you can see the comparison of the stock pressure plate spring and retainer with the new Barnett spring and retainer. The Barnett spring is a little bit shorter.
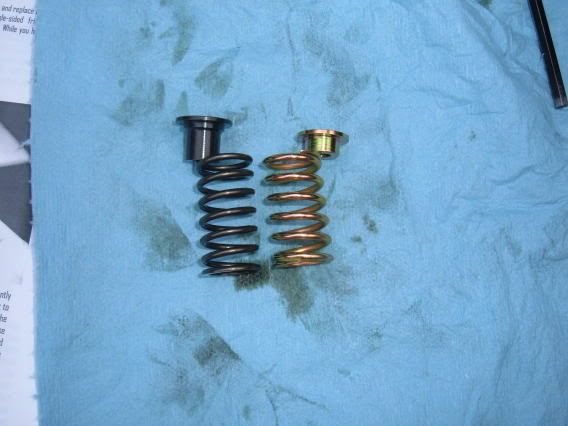 Clutch Pressure Plate Spring Comparison
Height:
Old (mm):41.7
New (mm):39.55
Coil Wire Thickness
Old (mm): 2.53
New (mm): 2.73
After almost breaking my T-handle wrench busting loose the little 5mm-.80 bolts (someone with an air ratchet must have put them on "by hand") we switched out the springs one-by-one. We had to use an easy-out on one as it stripped rather than break loose. Socket cap bolts work well with the "drill" type easy outs. We had a replacement bolt of correct size and pitch to replace the offending OEM one. Check the spring recess ears on the pressure plate for wear through or cracking when you have the spring and retainer out.
After replacing 4 of the 6 springs we decided to check the clutch pull. PROBLEM! The new clutch spring retainers were WAY too shallow and compressed the springs almost 100% - not allowing the clutch to function at all.
We easily swapped out the Barnett spring retainers for the OEM spring retainers and finished the spring installation (clutch then worked as it should).
The next two shots show how much more compressed the clutch springs are with the Barnett retainers (bad).

After the spring are switched out and the bolts tightened down to 5 ft-lb (60 inch-lb.) you are ready to button the engine back up. Check the clutch operation one more time to verify everything is working smoothly.
Clean off the old gasket maker material and use your new tube to put down a bead on the lip of the cover. Be sure to go all the way around any bolt holes. Don't go crazy putting this stuff on, a 1/8" wide bead is all that is needed.
Bolt everything back up - be careful not to overtighten the engine side cover bolts - they are steel and the engine case is aluminum - they will strip very easily. Just past hand tight is good (I think the book listed 6 ft-lb).
This did make a noticeable difference in clutch grabbing strength - the clutch was much more positive in engagement once the lever was past the friction zone. There is now a more discernible friction zone as well.
This might even improve gas mileage a little.


