Ducati Monster Forum

powered by:

February 12, 2025, 06:03:36 AM *
Welcome, Guest. Please login or register.

Login with username, password and session length
News: Please Help
 
   Home   Help Search Login Register  


Pages: [1] 2   Go Down
  Print  
Author Topic: Home Made Tail Chop  (Read 8335 times)
Slow Guy
Guest
« on: February 28, 2011, 05:14:59 PM »

Just thought i would post up a tail chop a buddy and I did this past Saturday.Used a the tail chop kit off of mine as a template and went to town cutting, bending and painting.  It was a very good day.

Before


During


After


that is all.
nothing follows.
Logged
Droopz
New Member
*
Offline Offline

Posts: 46


« Reply #1 on: February 28, 2011, 09:42:00 PM »

TOP job mate.  waytogo

This is my mission for the weekend, although I do not get the benefit of the use of a template.
Logged
Droopz
New Member
*
Offline Offline

Posts: 46


« Reply #2 on: March 01, 2011, 04:27:01 AM »

Finished mine tonight.

Mines even more "home made" than yours.
Logged
Slow Guy
Guest
« Reply #3 on: March 01, 2011, 01:31:09 PM »

It ain't real without pics! Grin
Logged
Droopz
New Member
*
Offline Offline

Posts: 46


« Reply #4 on: March 01, 2011, 03:38:10 PM »

Yeah yeah. I took pictures while i was doing it, but in hind-sight I should have taken more.

Now so far this is the cheapest ans easiest for of a tailchop i've seen, but it certainly isnt the best. So tek from it what you will...

The kit;


The only non-basic tools I used were I cutting disc and a vice. But you could make do with a hacksaw and hammer I guess.
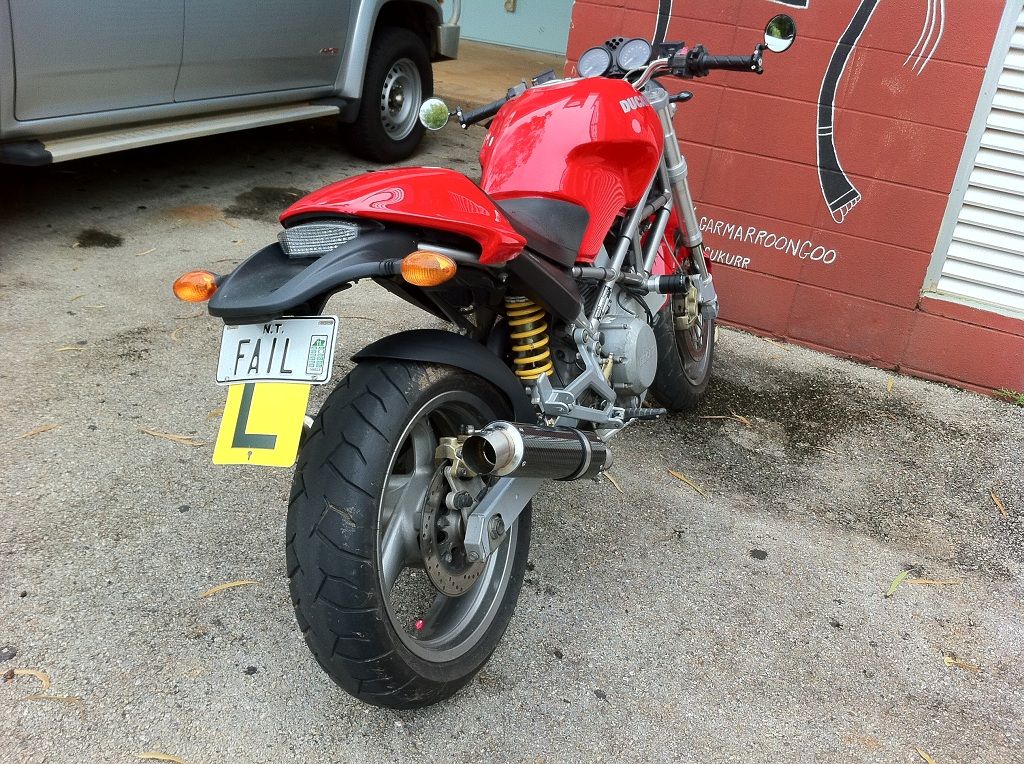
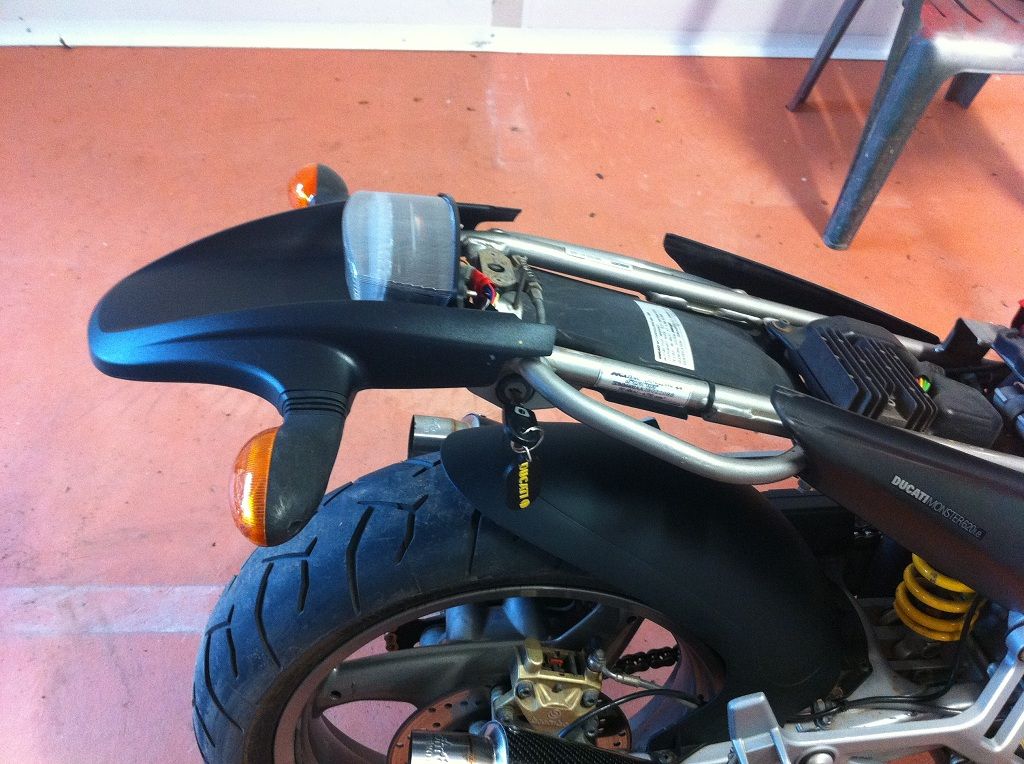
Before...


Next up, remove seat.


I had already installed the integrated tail light but still needed to hook up the indicators, so before I did anything I made sure it all worked. Then using both the old beer tray and test fitting the seat, I worked out where I wanted the light to sit.


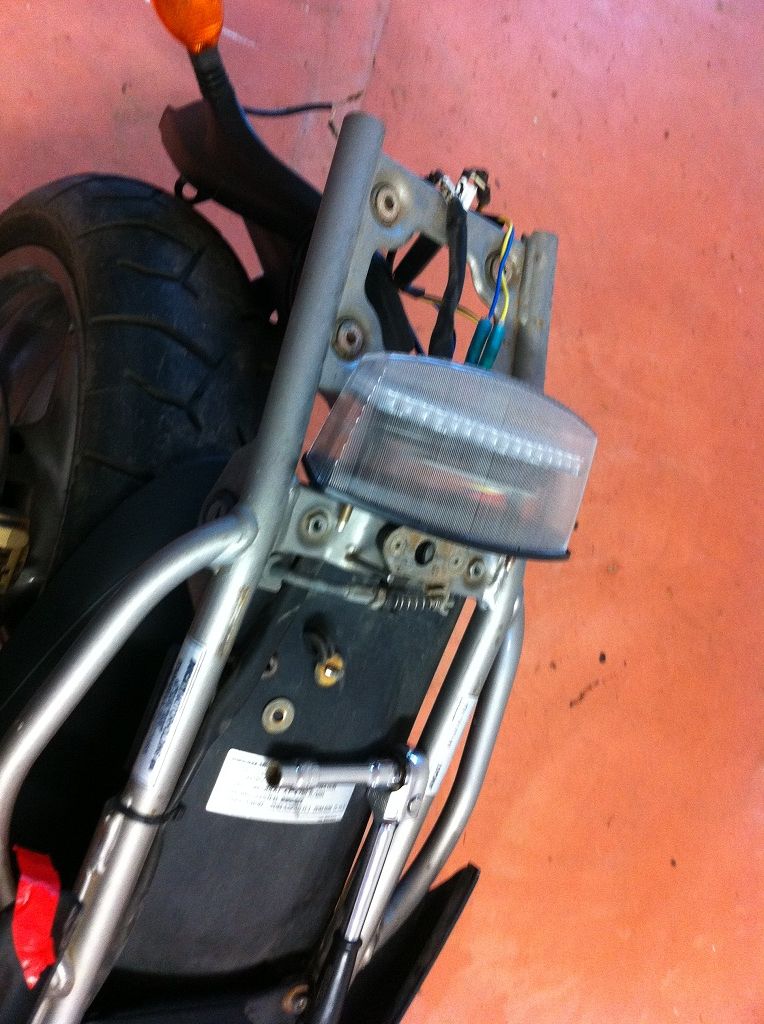
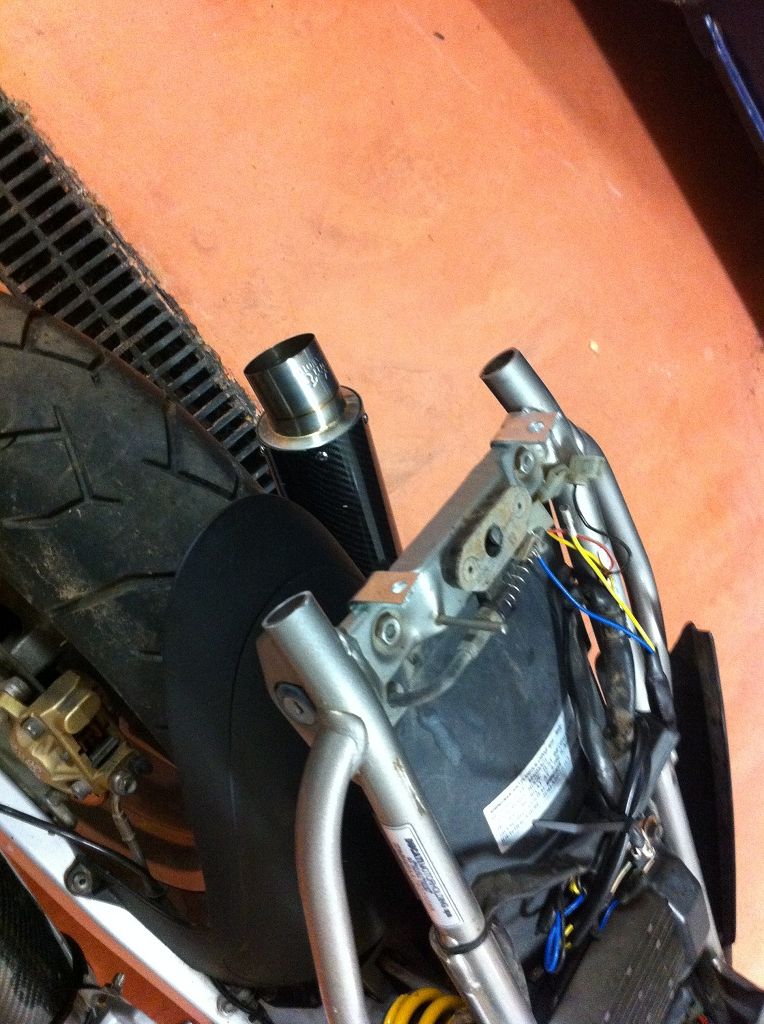
Then it was a simple case of cutting 2 of the angles down and using to 4 holes closest to the corners. Didn't even need to re-drill them, it was amazing...


You can see though the left bracket is angled inwards as the retained nuts on the frame aren't actually centered.


What I did to differently from the pics though was replaced the black rubber grommets I was using as spacers with nuts. This allowed me to fine tune the way the light sat to ensure it was perfectly straight.

Then it was choppy choppy...


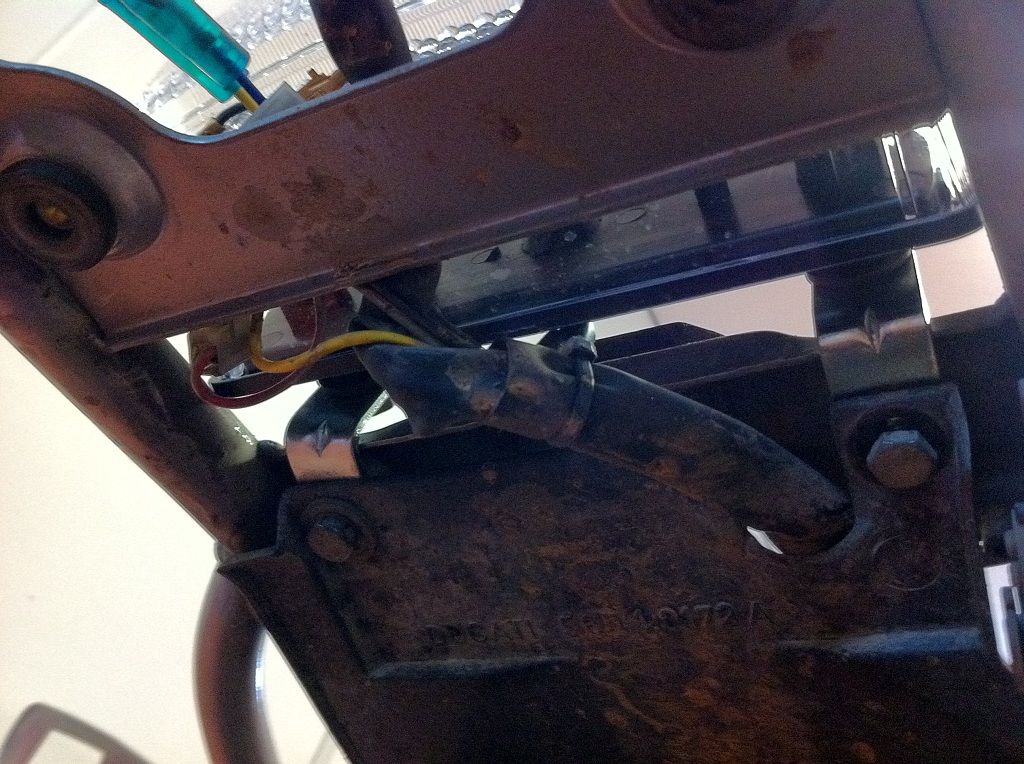
Then I used the remaining brackets to mount the plate. Bent in a vice to the desired angle and top hole mounted to the back of the light and its done. You could trim it bottom of the bracket right down if you like since its not needed, but i wanted to use the remaining length to remount my L-plate.


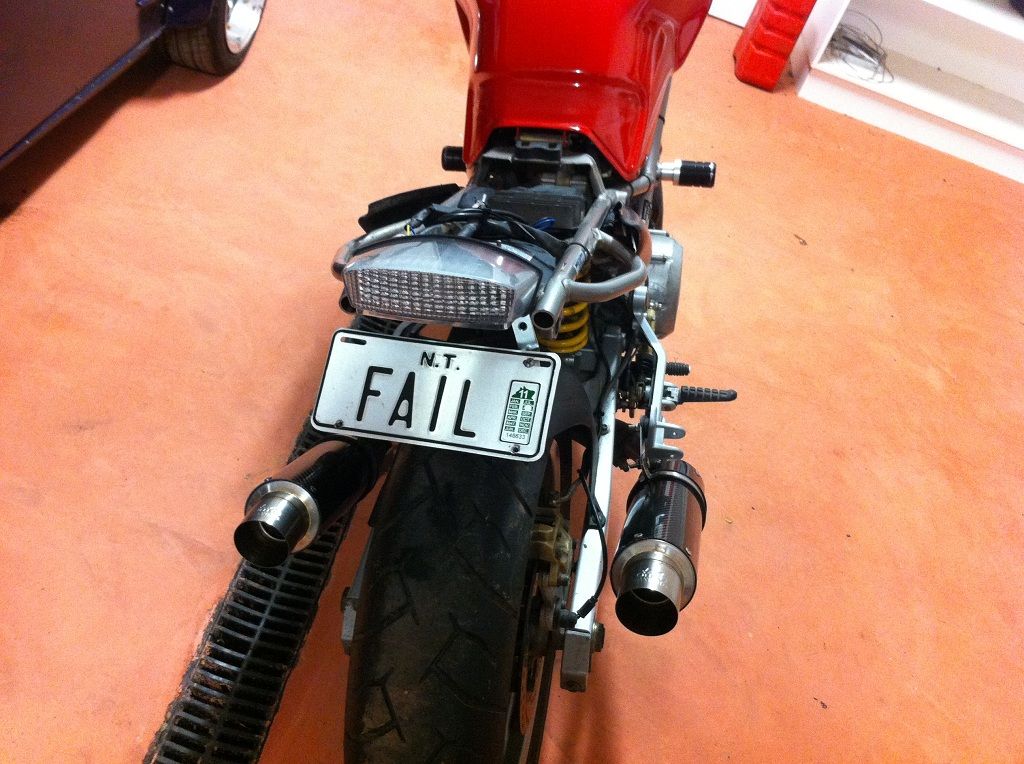
Unfortunately I sacrificed one of my brackets in the process of experimentation, so there is only one in the pic. Need to grab another this morning and do the other side.
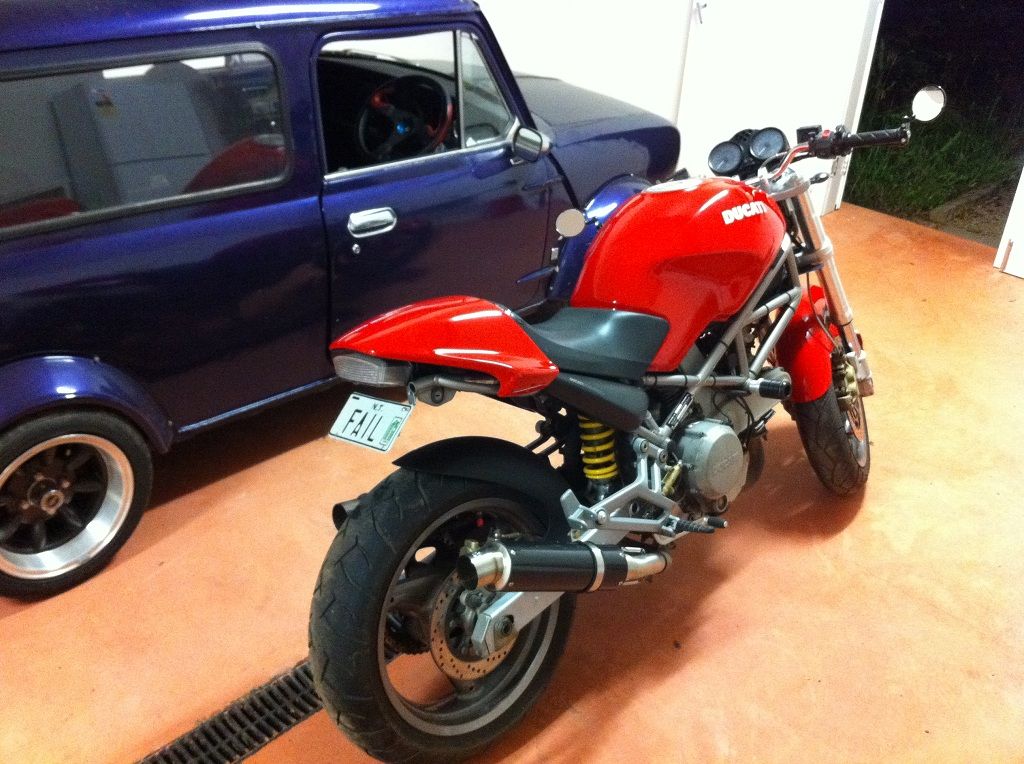
Back together....


Obviously all the other stuff you read about in tailchops still applies. Make sure you measure heaps before the chop. Clean and seal inside the bar afterwards etc...

I saw someone here use spent shotgun shells as his bar caps which i thought was very cool. But My 12G shells didn't fit, so I'm not sure what size would work.

Anyway, there you go. Not perfect, but cheap, relatively easy and can easily be finished in a night. It's minimalistic I guess and its all Zinc plated so it shouldn't rust for ages.

« Last Edit: March 01, 2011, 03:42:52 PM by Droopz » Logged
caboteria
Full Member
***
Offline Offline

Posts: 128

02 M750, 70 R50/5, 06 SV650


« Reply #5 on: March 01, 2011, 06:07:48 PM »

I saw someone here use spent shotgun shells as his bar caps which i thought was very cool. But My 12G shells didn't fit, so I'm not sure what size would work.

20 gauge fit nice and snug, but surprisingly some of them rust after a while so try to get pairs of a few different brands just in case.

Logged
Droopz
New Member
*
Offline Offline

Posts: 46


« Reply #6 on: March 01, 2011, 06:23:12 PM »

Awesome. I guess giving them a quick coat of clear would sort the rust and seal them in nicely.
Logged
Slow Guy
Guest
« Reply #7 on: March 01, 2011, 06:55:09 PM »

+1 on the 20 guage. 1 it cleans up and finishes the tail chop and 2 ya get to go shooting! Your chop looks really good and the fact that you kept it both cheap and simple kicks ass!
Logged
Droopz
New Member
*
Offline Offline

Posts: 46


« Reply #8 on: March 01, 2011, 07:36:01 PM »

Thanks mate.

Looking at the pics I just too today at work, I think i'm going to figure a nice way to mount the plate properly with just the one arm. Looks good kind of 'free floating' i think....

Logged
He Man
Post Whore
******
Offline Offline

Posts: 11626


WWW
« Reply #9 on: March 01, 2011, 11:45:55 PM »

those tabs wont hold. Give it enough vibration and once the galvanized plating wears off it will snap.

I know that first hand. Lost my old tail light that way. Use heavy gauge steel.
Logged

2006 Ducati S2R1100 Yea.... stunttin like my daddy CHROMED OUT 1100!!!!


Check out my Latest Video! 05/13/2017 :https://www.youtube.com/watch?v=P4xSA7KzEzU
Droopz
New Member
*
Offline Offline

Posts: 46


« Reply #10 on: March 02, 2011, 12:26:22 AM »

Really  Huh?

How is the 1mm steel weaker than the plastic housing on the back of the light? Which part failed for you? Having both sides fail simultaneously sounds more like an impact issue. I needed to press these in a decent sized vice just to get the bend I wanted.

Easy enough to make up angles out of stronger steel I guess, so better safe than sorry. Thanks for the heads up...
Logged
He Man
Post Whore
******
Offline Offline

Posts: 11626


WWW
« Reply #11 on: March 02, 2011, 12:30:00 AM »

because the plastic absorbs shock and it displaces it over a much larger area, the steel is aleady stressed at the bend, and the energy is only dispalced over a small 1inch surface.

i replaced teh brackets with 18 guage steel ( much higher quality) and its fine now.

i also ride in some stupid NYC pothole patched bs roads too so it might of amplifed that.
Logged

2006 Ducati S2R1100 Yea.... stunttin like my daddy CHROMED OUT 1100!!!!


Check out my Latest Video! 05/13/2017 :https://www.youtube.com/watch?v=P4xSA7KzEzU
Droopz
New Member
*
Offline Offline

Posts: 46


« Reply #12 on: March 02, 2011, 12:47:54 AM »

Fair enough. Another solution might be to install small rubber bushes at the point where the brackets bolt to the frame.
Logged
jc.cyberdemon
Sr. Member
****
Offline Offline

Posts: 475


« Reply #13 on: March 02, 2011, 06:50:21 AM »

still think you should move those exhaust hanger extentions to the front, looks like you are having some fitment issues with the bolt that goes through you "rear set" mine was cocked off until i moved the bracket to the front...
Logged
Howie
Post Whore
******
Offline Offline

Posts: 17355


« Reply #14 on: March 02, 2011, 08:26:20 AM »

If the crack was at or near the bend the radius was too tight.  Try a wider radius on the bend.
Logged
Pages: [1] 2   Go Up
  Print  
 
Jump to:  


Powered by MySQL Powered by PHP Powered by SMF 1.1.21 | SMF © 2015, Simple Machines
Simple Audio Video Embedder
Valid XHTML 1.0! Valid CSS!
SimplePortal 2.1.1