Here is a tutorial on how to do a full braking system upgrade with EBC components on a Ducati Monster S2R1000. This should generally apply to most monsters, with the main difference being the older DSS Monsters.

Here is what we are going to be installing. EBC XC series fully floating rotors for the front, a matching rear solid contour rotor, Extreme Pro pads for the front, and HH for the rear. These will be perfect for both the street and the track, a huge upgrade from stock. I also recommend flushing out all the fluid with some fresh quality stuff such as EBC fluid.
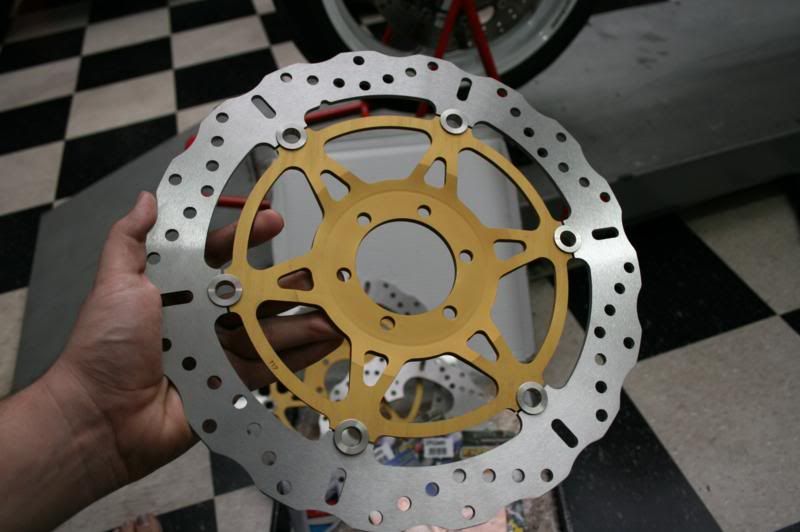
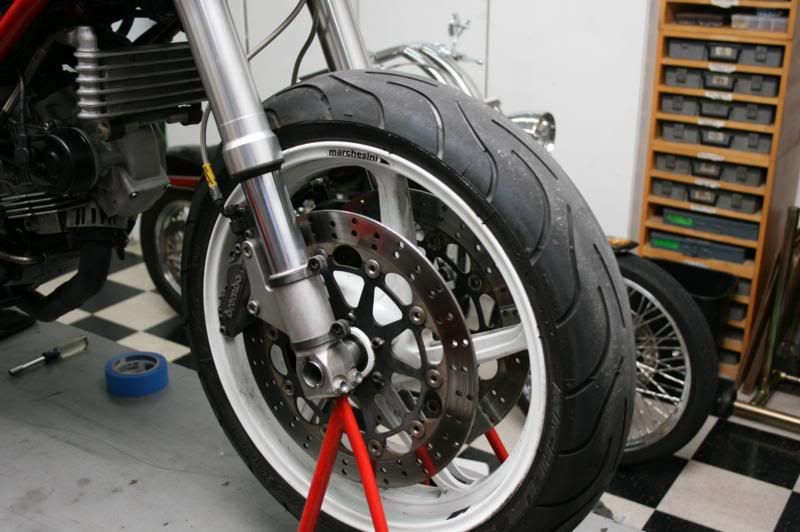
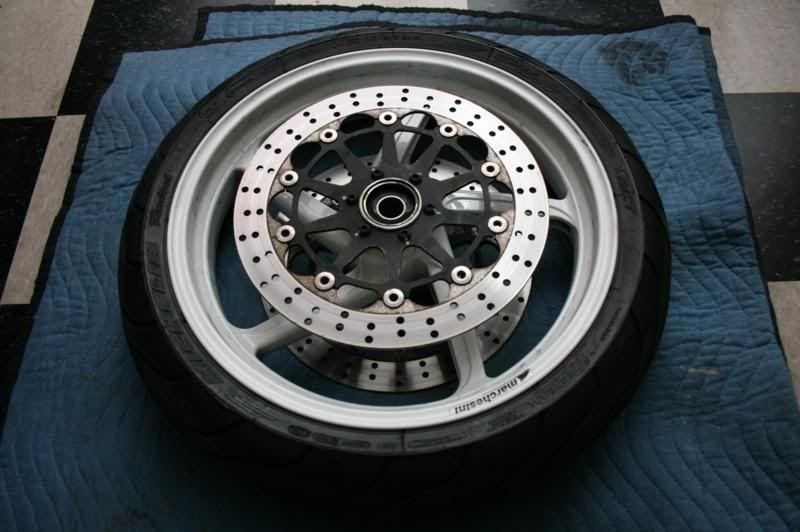
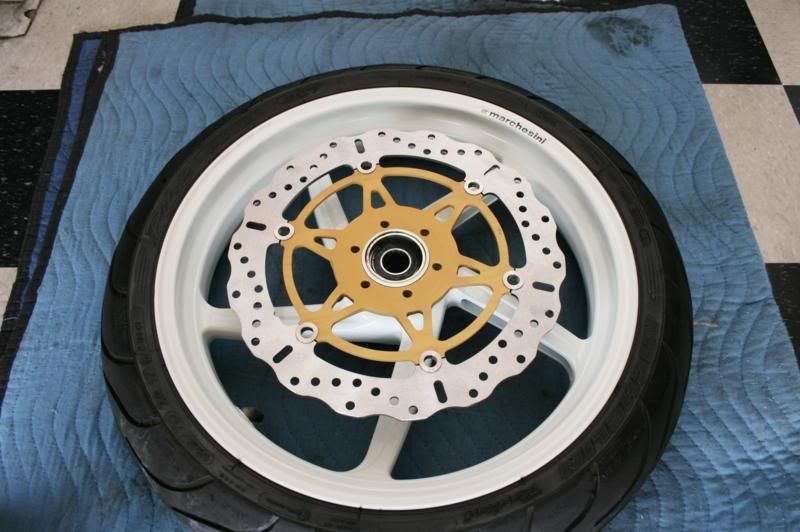
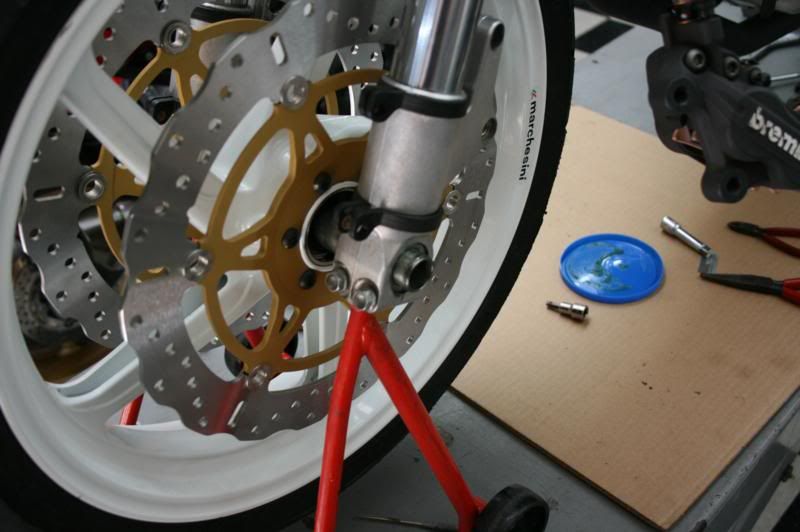
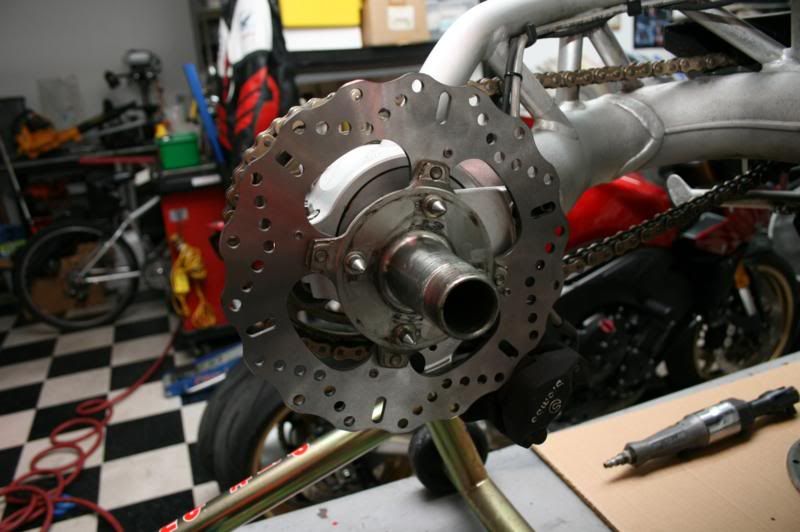
Here you can see the XC front rotor in full detail. A much lighter, and better looking alternative from the OEM rotors. You will also notice they only use 6 buttons, the buttons are a different improved design so they don't need as many as other brands. I like this a lot because it also lets you see more of the wheel and also makes cleaning much easier.
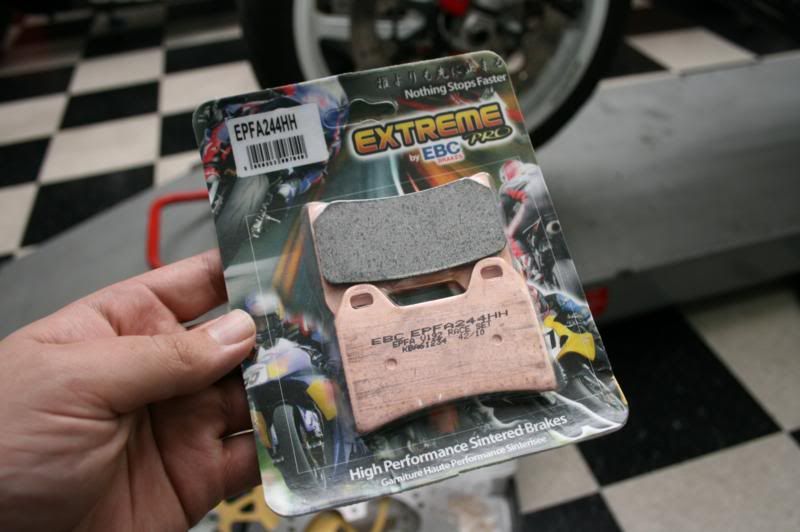
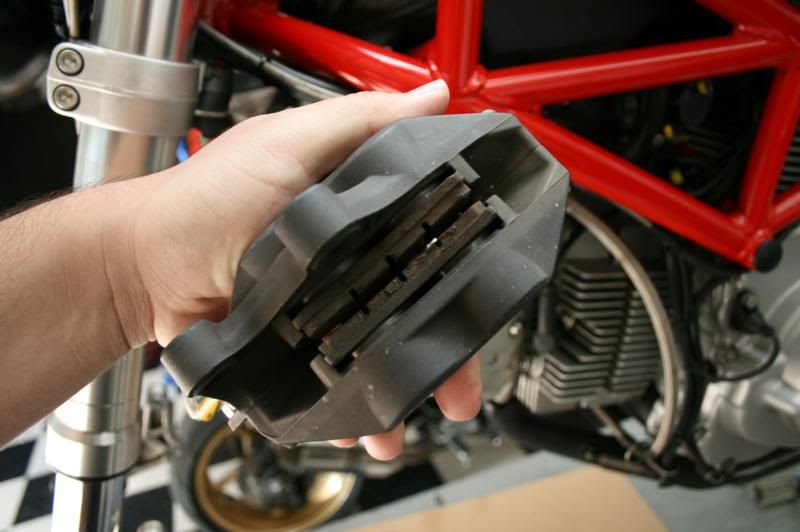
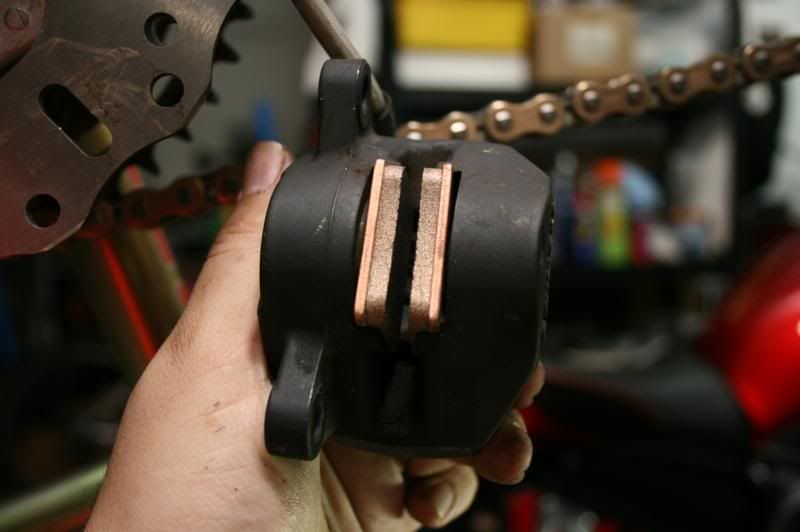
A close-up of the front pads.
Now lets get to work. First thing you need to do is get the front of the bike on a front stand.
And remove the front fender.
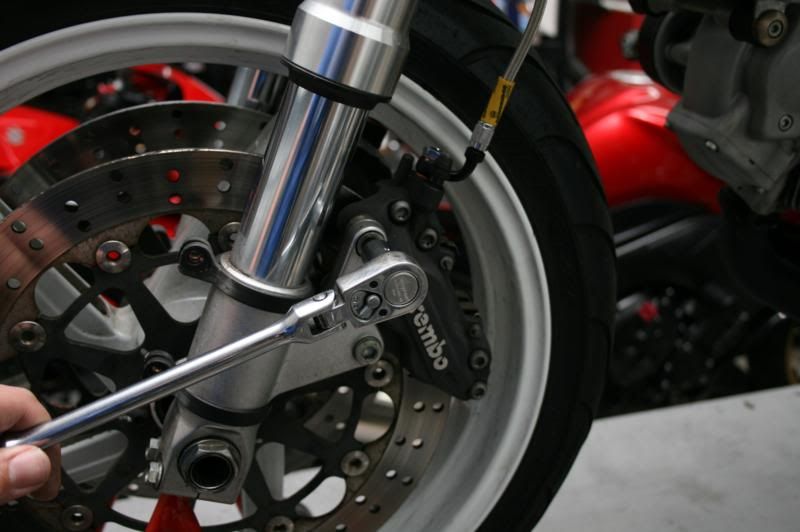
Begin my removing the caliper bolts.
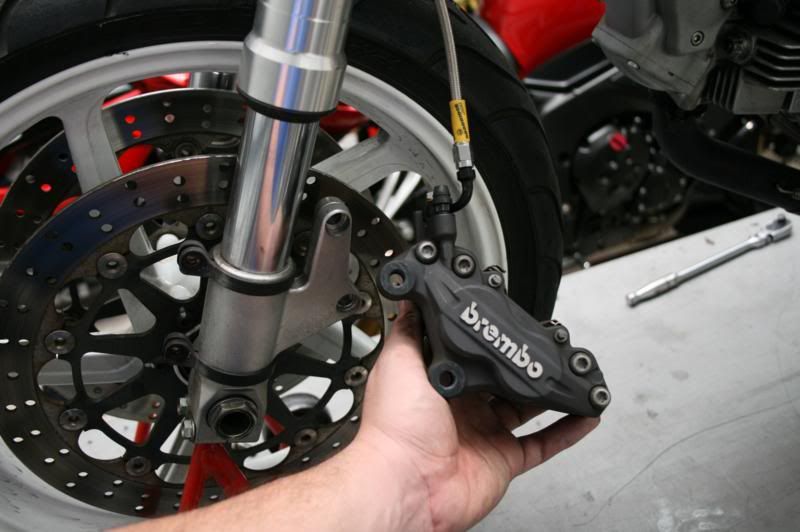
Pull the caliper off from on the rotor and use a bungie or something to hold it off to the side.
Loosen these bolts so that we will be able to remove the front axle.
Remove the axle nut.

Loosen the same two bolts on the other fork leg and proceed slide out the axle, you will now be able to remove the wheel.
With the wheel removed, lay it on the floor on something soft and thick like this movers mat I am using.
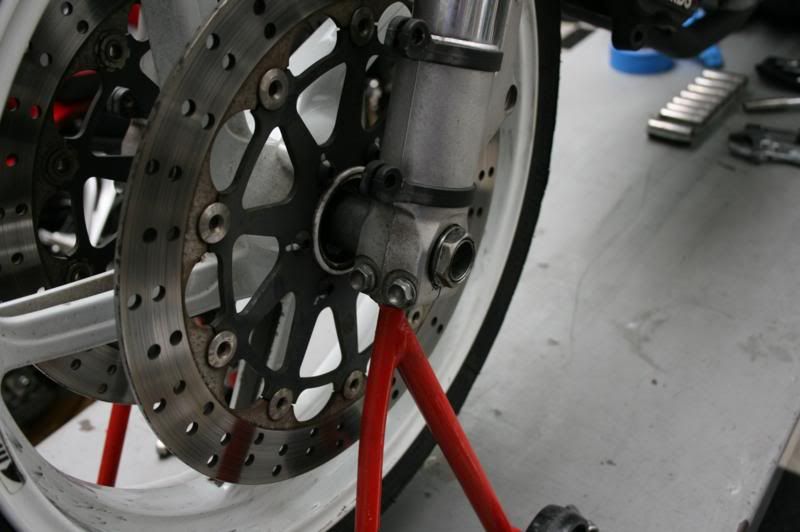
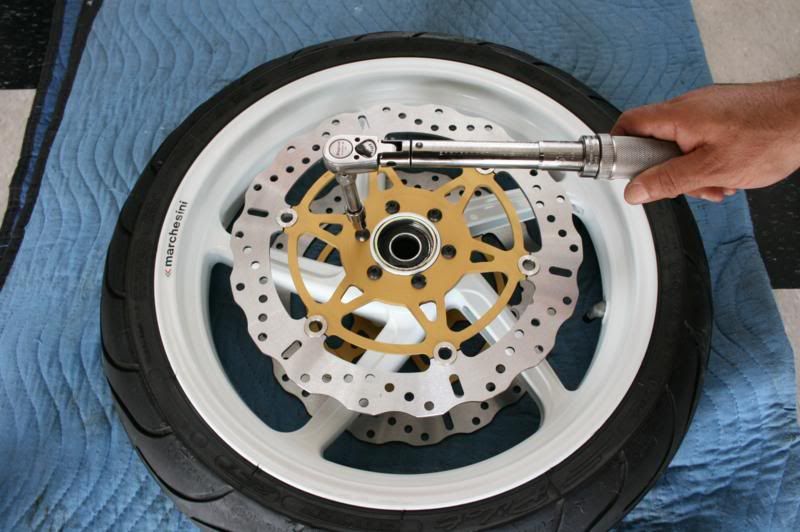
These torx will need to be removed so we can replace the rotor. They are very tight and secured with a thread locker. It will require a lot of force.
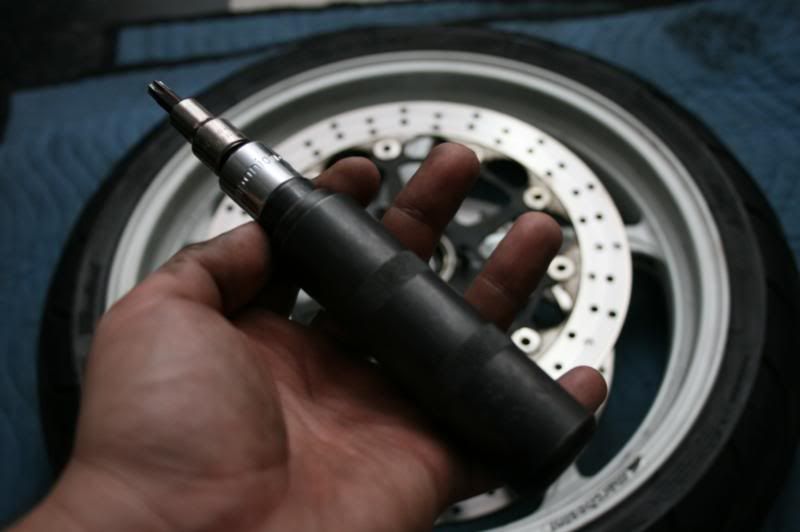
The best option is to use an impact hammer like this. You attach your torx socket to it and then hit with with a nice heavy hammer while twisting it.
Use it on all of the bolts, once you break them loose you'll be able to use a normal ratchet to back them out the rest of the way.

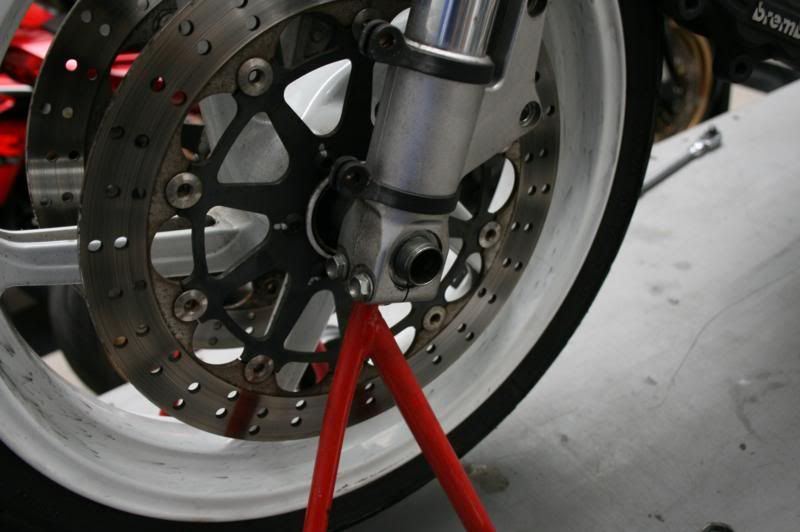
Lift the rotor out of the way.
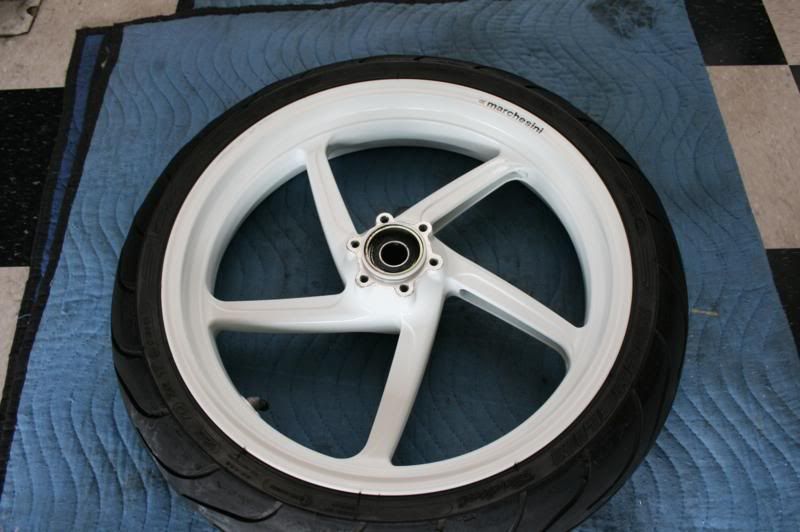
Now repeat on the other side. You may notice I took this opportunity to thoroughly clean the wheel as well as give it a coat of wax. I'd recommend everyone also doing this as this point. This is the easiest it will ever be to clean the front wheel.
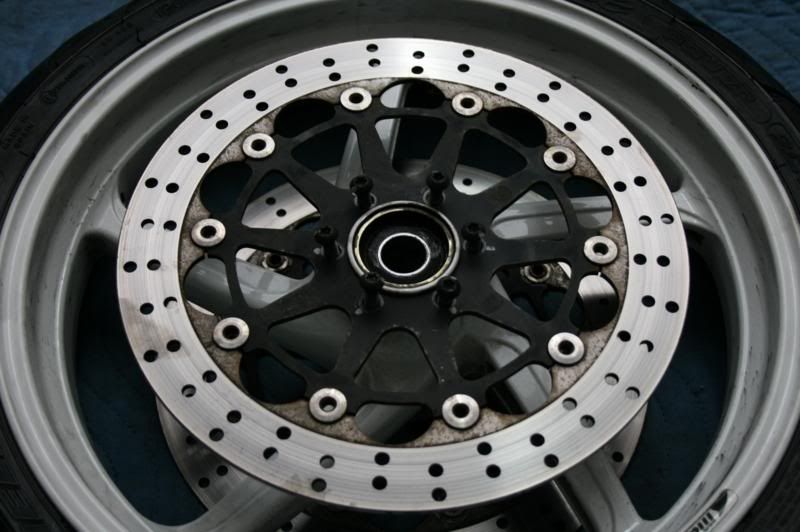
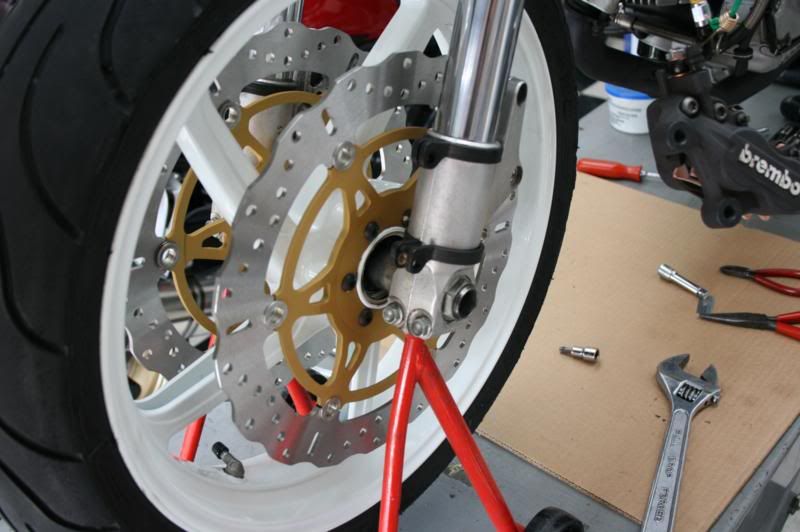
Set the new rotor in place. They are offset out so make sure when installed the offset is pulling the rotor away from the wheel and not towards it. They should be oriented like this ) ( and not like this ( ).

I used blue Loctite for ease of removal in the future. Some may say to use red, but it is up to you.

I reused the original hardware, but you can optionally replace it if you like. Consult your service manual for torque specs as they may vary. Then repeat on the other side.
Torque them all, making sure to go in a star pattern.

Now we move to the calipers.
You can see the front pads still had plenty of life left in them, but they weren't the best performers by far so I'd recommend upgrading yours regardless of their condition.
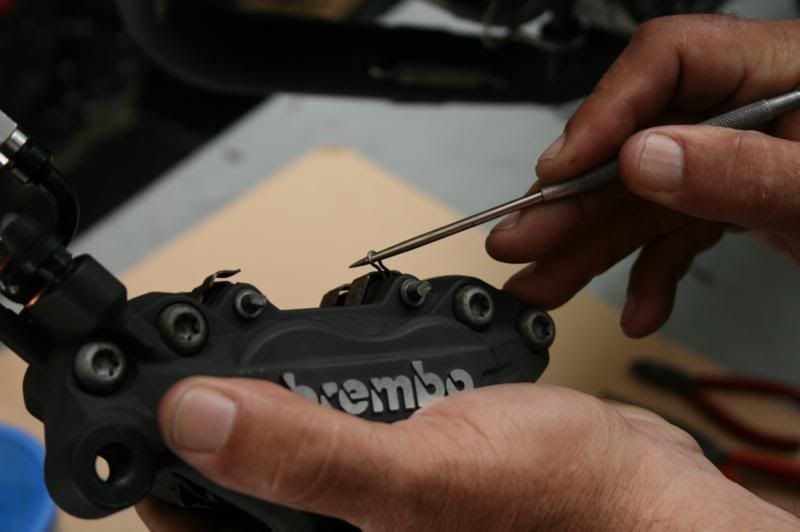
First thing you need to do is remove the small clips on the top of the caliper.
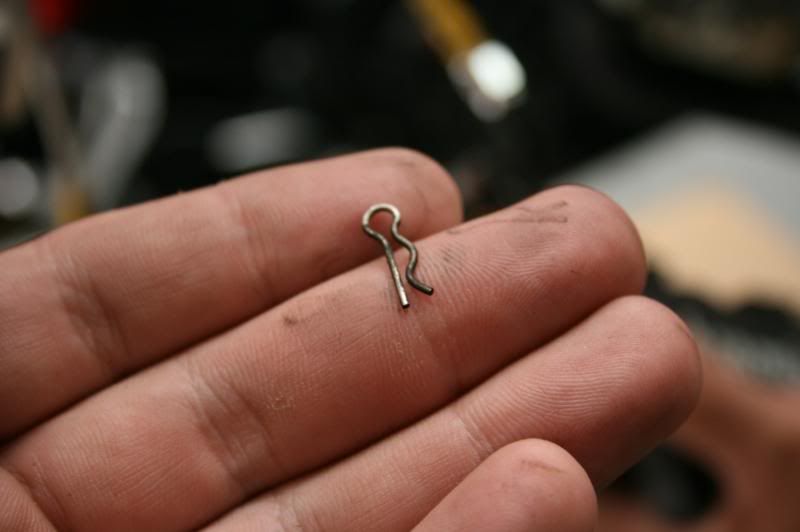
They are small, so be careful not to lose them.

Now pull out the pins.
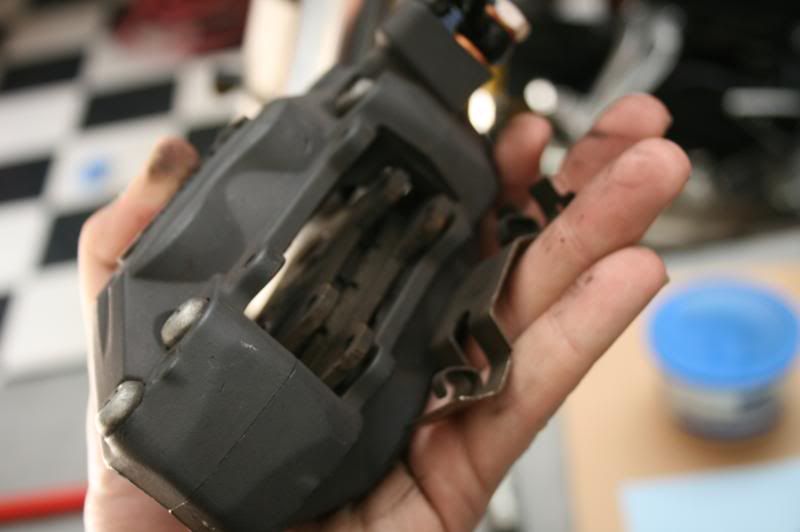
With everything removed from the top of the caliper your pads will no longer be held in place.

Once you remove them, clean the pistons of dirt and grime and push them back in flush.

Put the new pads in place.

Reassemble and repeat on the other side.
Put a little grease on the axle.
And hold the front wheel in position while you slide the axle in.
Tighten the pinch bolts and then the axle nut. Again refer to your service manual for torque specs as they can vary.
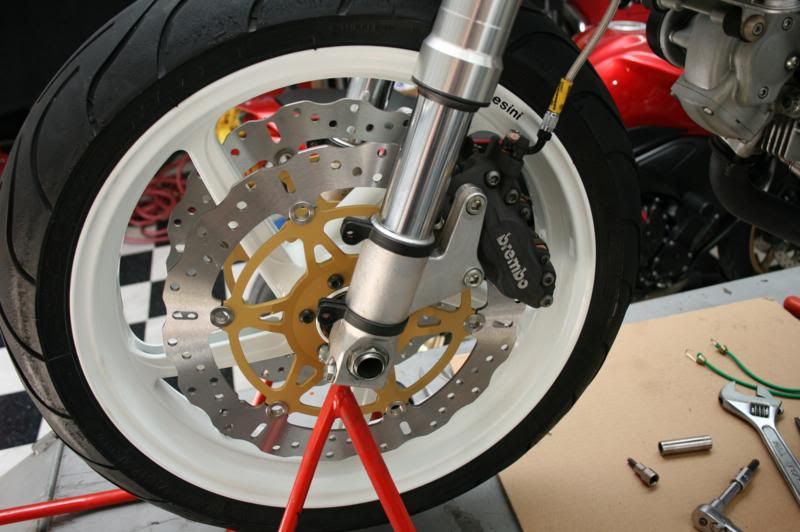
Install the front caliper.
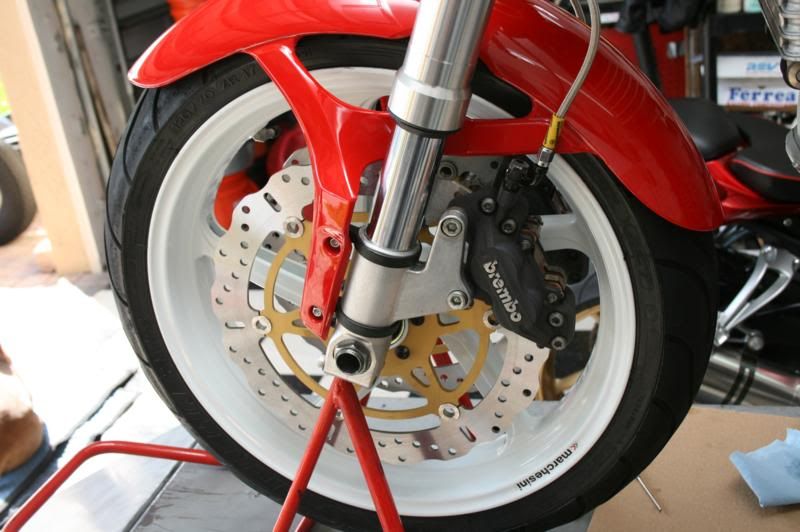
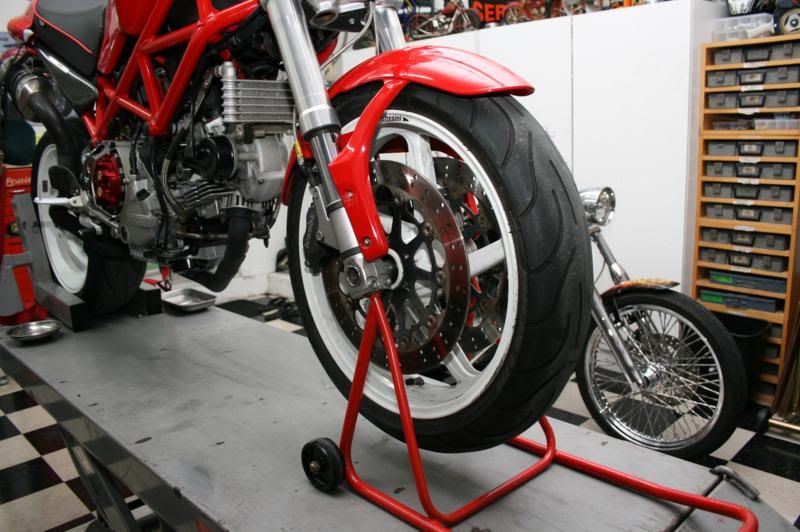
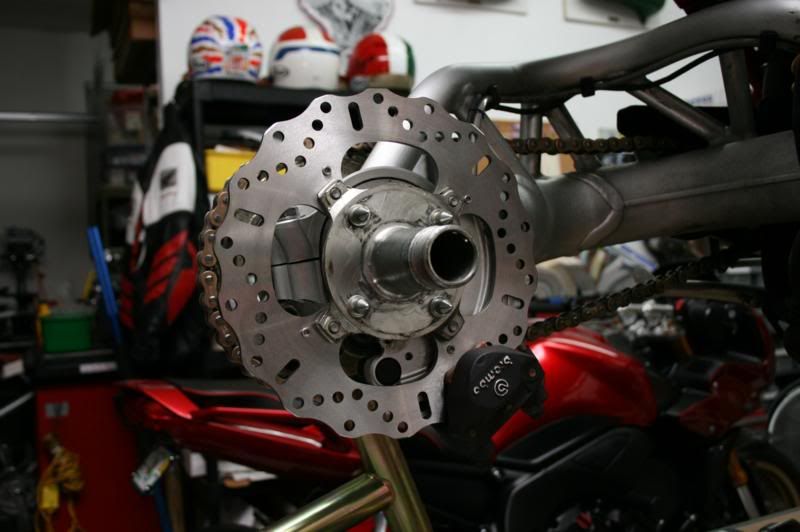
Install the front fender, and admire your beautiful new front brakes.
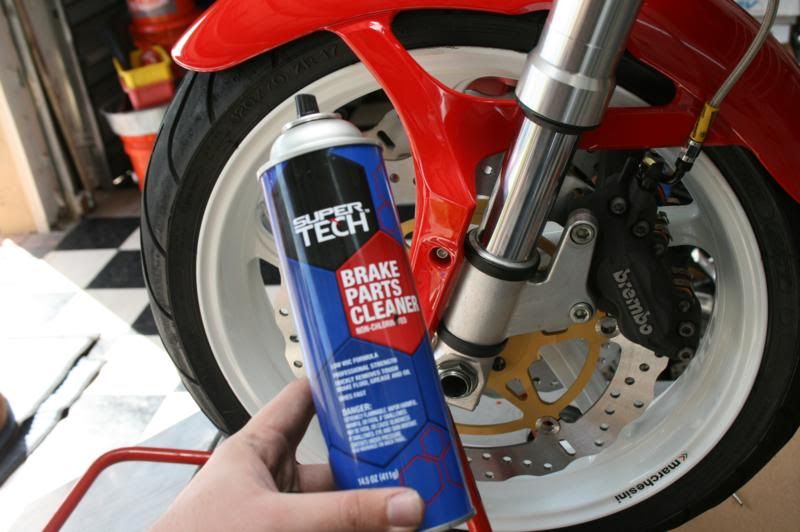
I also recommend wiping the rotors down with Brakleen prior to use.
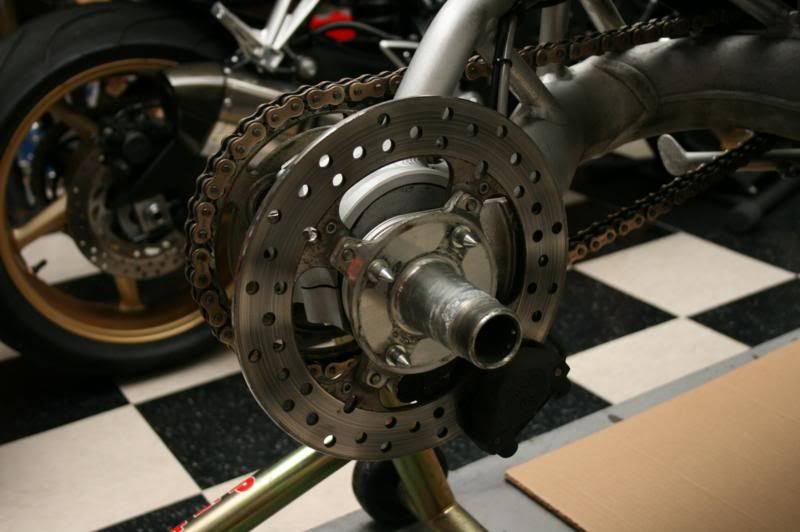
Now for the back. Begin by putting it on a rear stand and removing the rear wheel.
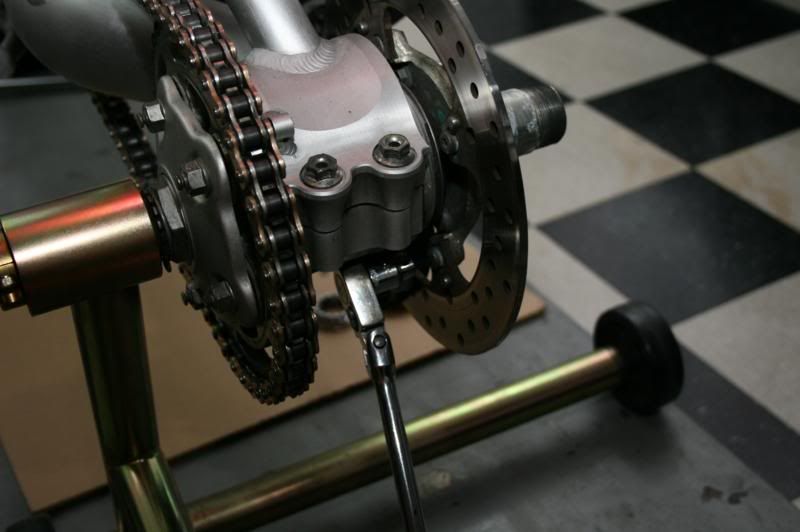
The service manual states you will need to disassemble the entire rear but we won't need to do this. A ratchet and socket can easily fit in place to loosen the bolts one at a time. I recommend getting it in position to do one bolt, putting the bike in gear, and then having someone stand on the rear brake pedal while you break the bolt loose.

After you repeat that for all four bolts, remove the caliper and position it out of the way.
Now that the bolts are all loose you can easily remove them without any force.

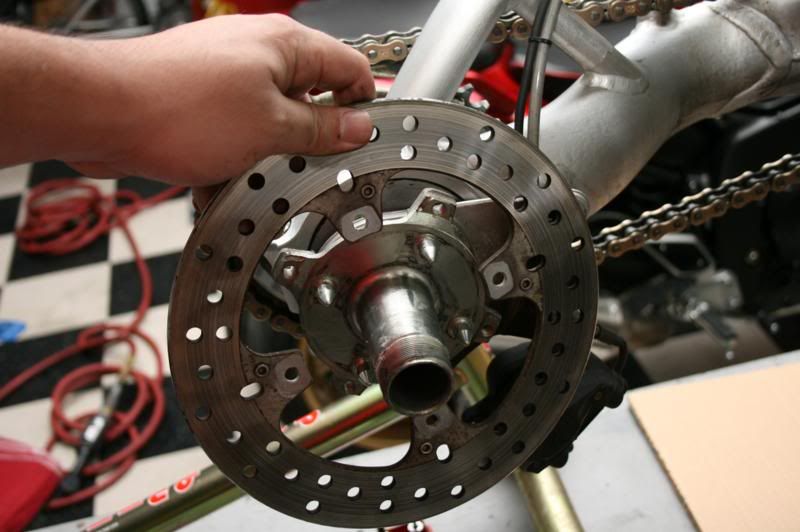
Remove the rear rotor.
Position the new one in place after wiping it with Brakleen.
Replace your pads just like you did with the fronts.
Tighten everything up and your done!
Flush out your old fluid, bleed the brakes and then enjoy your new brake upgrade! After riding with this setup for a decent amount already I absolutely LOVE it and would never go back to the OEM setup! ALSO REMEMBER YOUR NEW BRAKES NEED TO BED IN A LITTLE, SO STOPPING POWER WILL BE LOWER THAN NORMAL INITIALLY. BE CAREFUL FOR THE FIRST RIDE AND USE YOUR BEST JUDGMENT.


