Recently installed some Woodcraft clipons on my bike in place of another brand. Heres a review and brief tutorial on them.
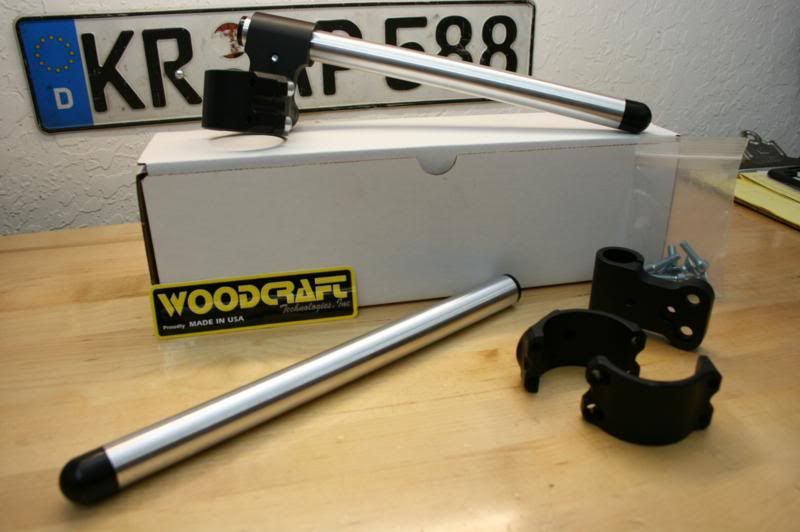
Here are the clip-ons. They are two inch raise in this case, but are available in other raise heights or with no raise at all, it depends on your taste.

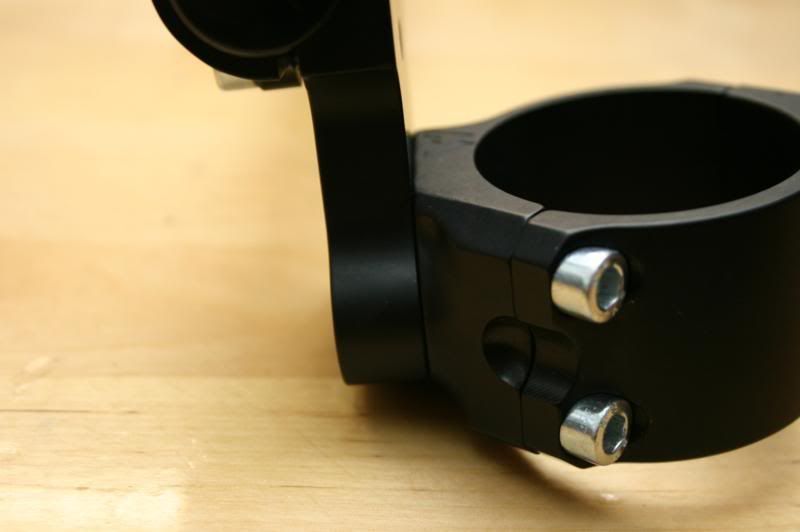
One of the things that made the Woodcraft stand out to me versus the other brands is they have a two piece fork clamp. This means you don't have to remove your upper tripple every time you want/have to install or remove them from the bike.
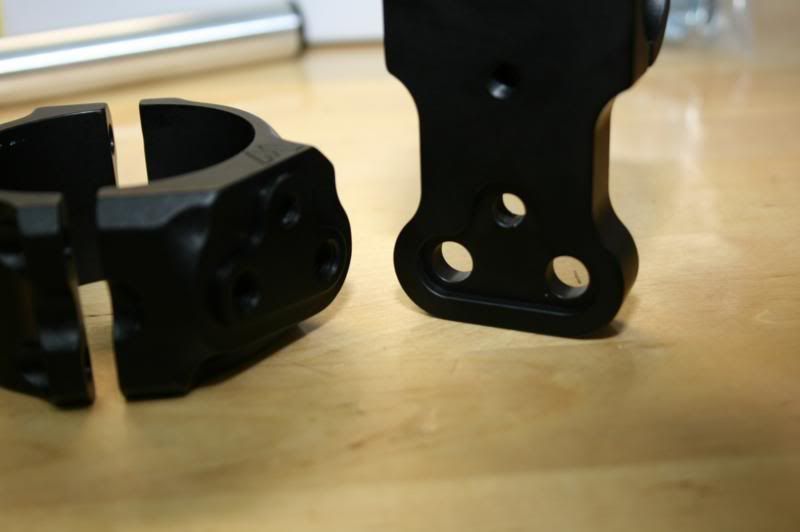
The next thing that really stands out with these is that they are 3 piece. Most manufacturers would make these plain and secured fully only by the machine screws. Woodcraft makes these with a keyed design which I really like. I makes the fit much firmer and more secure.
You can see the tolerances are perfect and the fit is very tight.
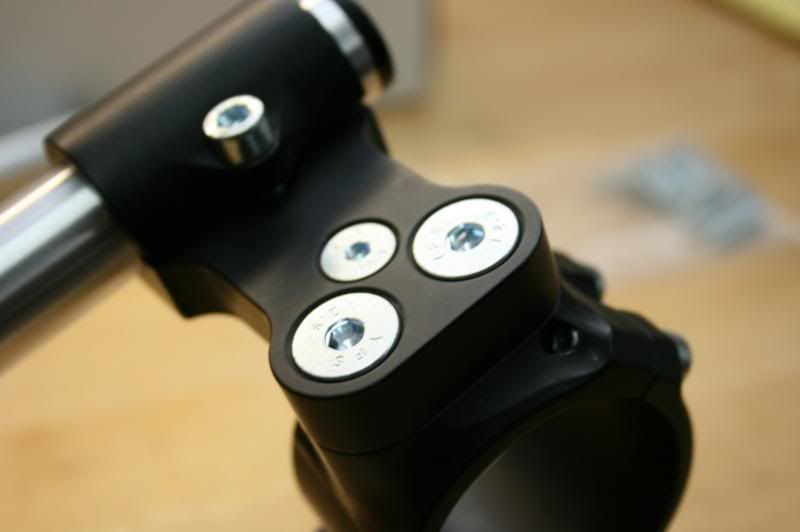
I also really liked how they use flat head machine screws so they are recessed and flush, versus a cap head screw like most manufacturers would use. Be sure to use blue Loctite on the hardware securing the raiser before installing them on the bike.
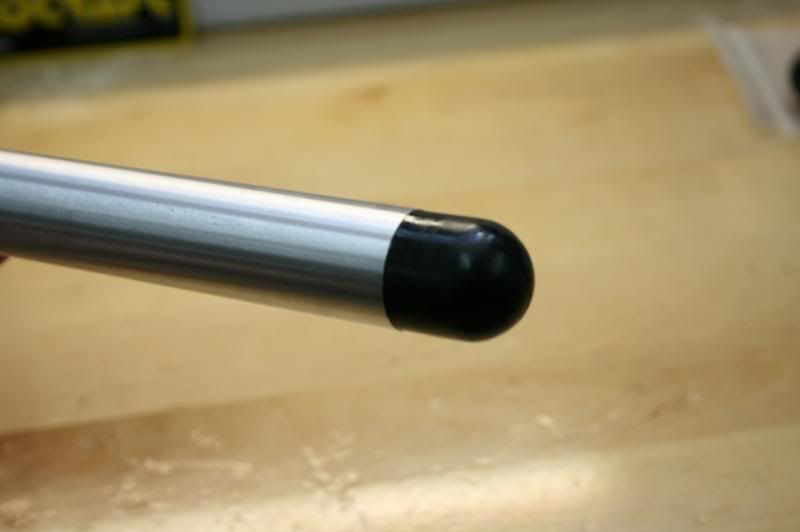
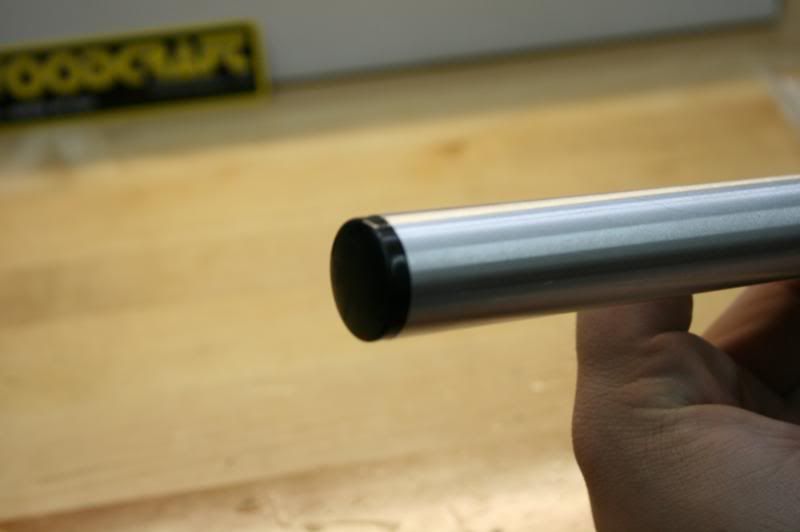
The tubes come with a nice bar end in each side, unlike some other manufacturers which don't include any.
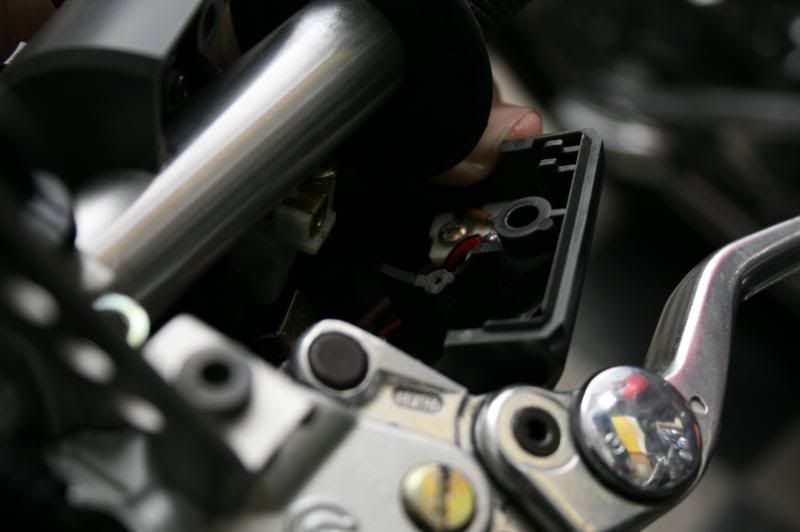
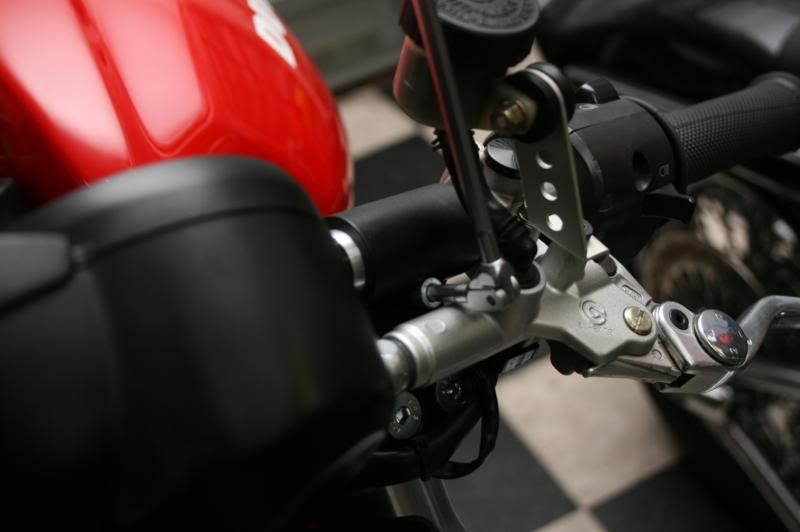
Now moving onto the install. You need you mock up the clip-ons after you have removed your previous bars. When you put the stock controls on the bike you will have two options. To grind down the locating pin or to make holes for it in the tubes. As you can see here the previous owner of my bike chose the lazy way and ground them down.
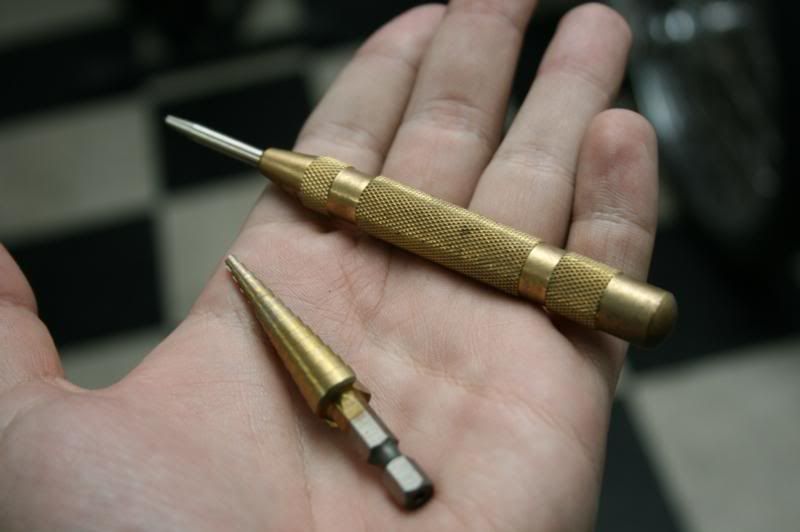
If you drill the hole in yours you will need to use a spring loaded punch to mark the spot and then the appropriate sized drill bit to drill the hole.
Repeat on both sides and get everything mounted. Before tightening down all of the bolts make adjustments to have everything correctly oriented.
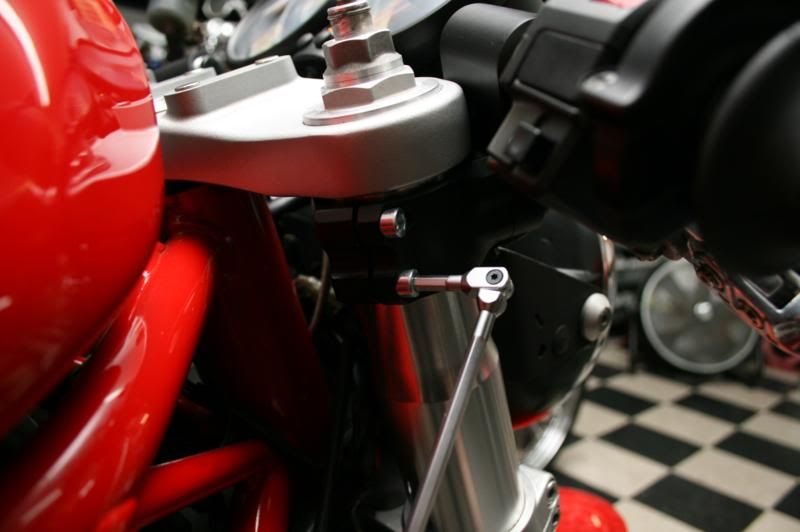
Then tighten the four bolts that secure the fork clamps. There on two on each side and they face different ways per side so you can easily reach the back ones with a L shaped allen.
Tighten the clamp holding the tubes.
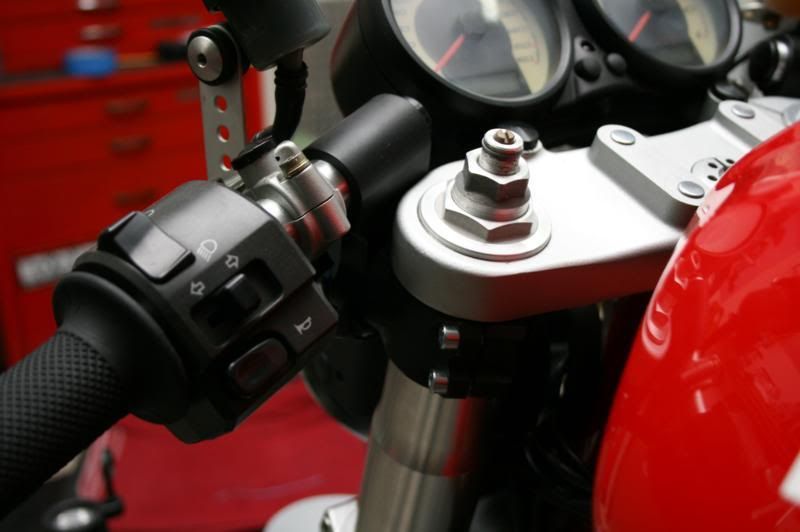
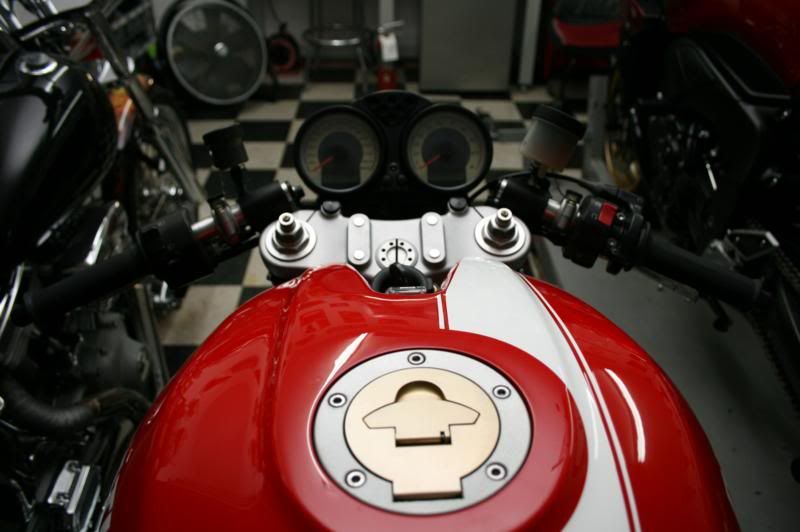
And you're done! You can see the two inch raise comes just over the upper tripple. It is much more comfortable than a no raise clip-on and still gives that agressive look and feel you get from clip-ons.
For more information on the clip-ons you can click on their logo below,